A guide to brand photography for e-commerce
What to shoot, how to shoot it, and how to make your images work across all formats
When you sell online, your photos are your pitch. They’re your shopfront, your brand identity, your first impression, and very often the deciding factor between a sale and a scroll-past. It doesn’t matter how good your product is if your photography doesn’t communicate it. The biggest issue I see with small brands is not that they don’t try to take photos. It’s that they don’t approach photography with a plan. They either shoot quickly with a phone, in poor light, with no consistency or styling, or they pay for images that look nice but don’t actually help the product sell. If you want to build a brand, not just a product listing, this guide is for you. Whether you’re doing the shoot yourself or working with a photographer, these are the fundamentals that apply every time.
Step 1: Start with a moodboard
Before you think about gear, before you pick up a camera, you need to figure out what your brand visuals should actually look like. A moodboard is a collection of reference images that define the overall look, feel, and tone of your photography. Without one, you’ll end up with inconsistent visuals that confuse your audience and weaken your branding. Decide on the lighting mood: bright and clean, or warm and cozy? What’s the surface texture: marble, timber, linen, white seamless? Should your photos feel editorial and styled, or minimal and stripped back? Don’t just save random Pinterest photos. Think about what connects them. What colours repeat? What camera angles are used? Is there a person holding the product, or is it isolated? Which ones look premium, and which feel cheap? This moodboard should reflect your brand values, your customer’s world, and the overall experience you want your brand to convey. It’s your visual blueprint. Every photo you take should be able to sit next to your moodboard and feel like it belongs.
Step 2: Understand the two types of brand photography
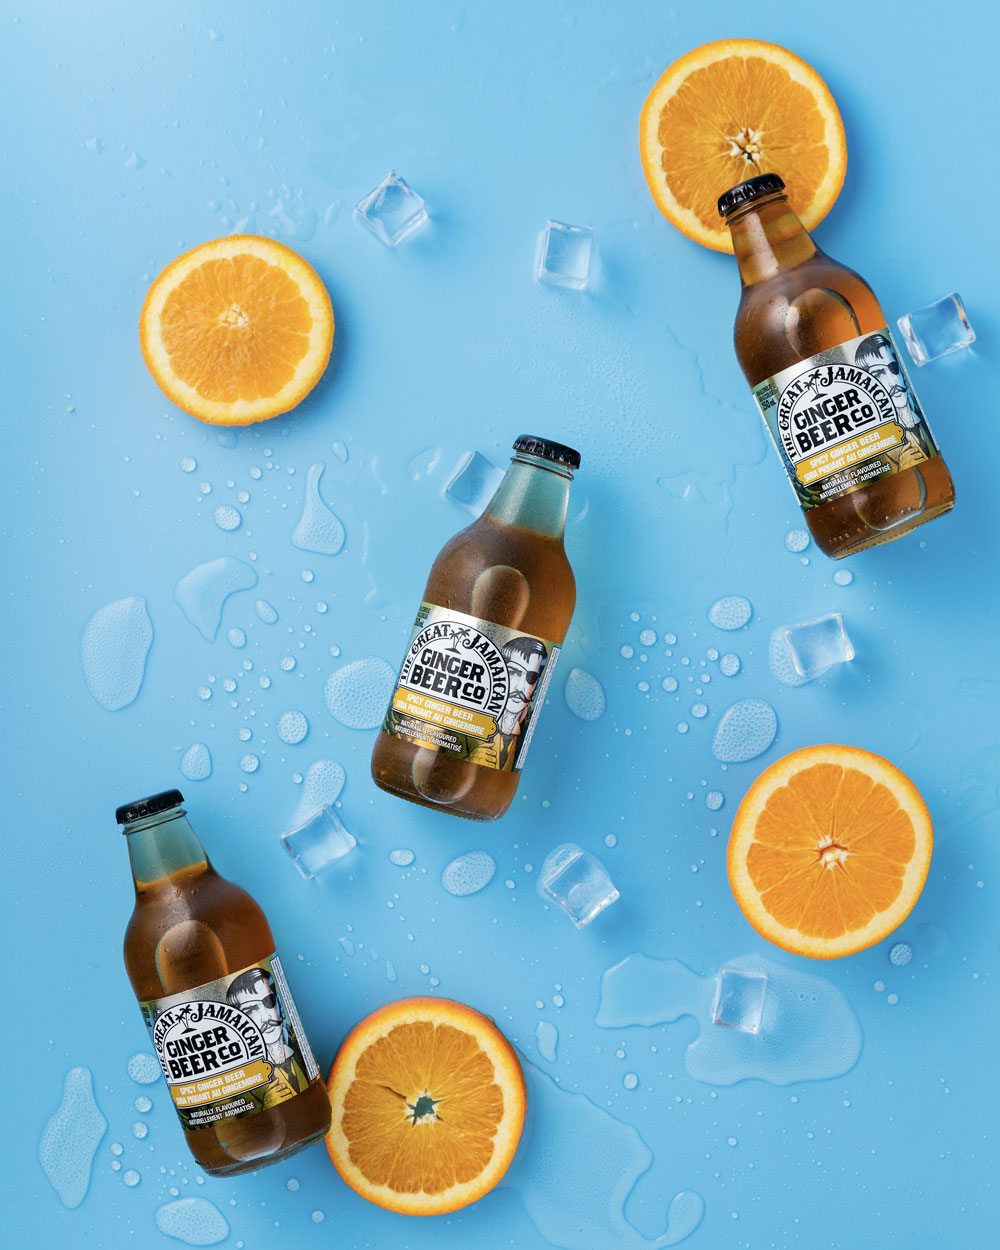
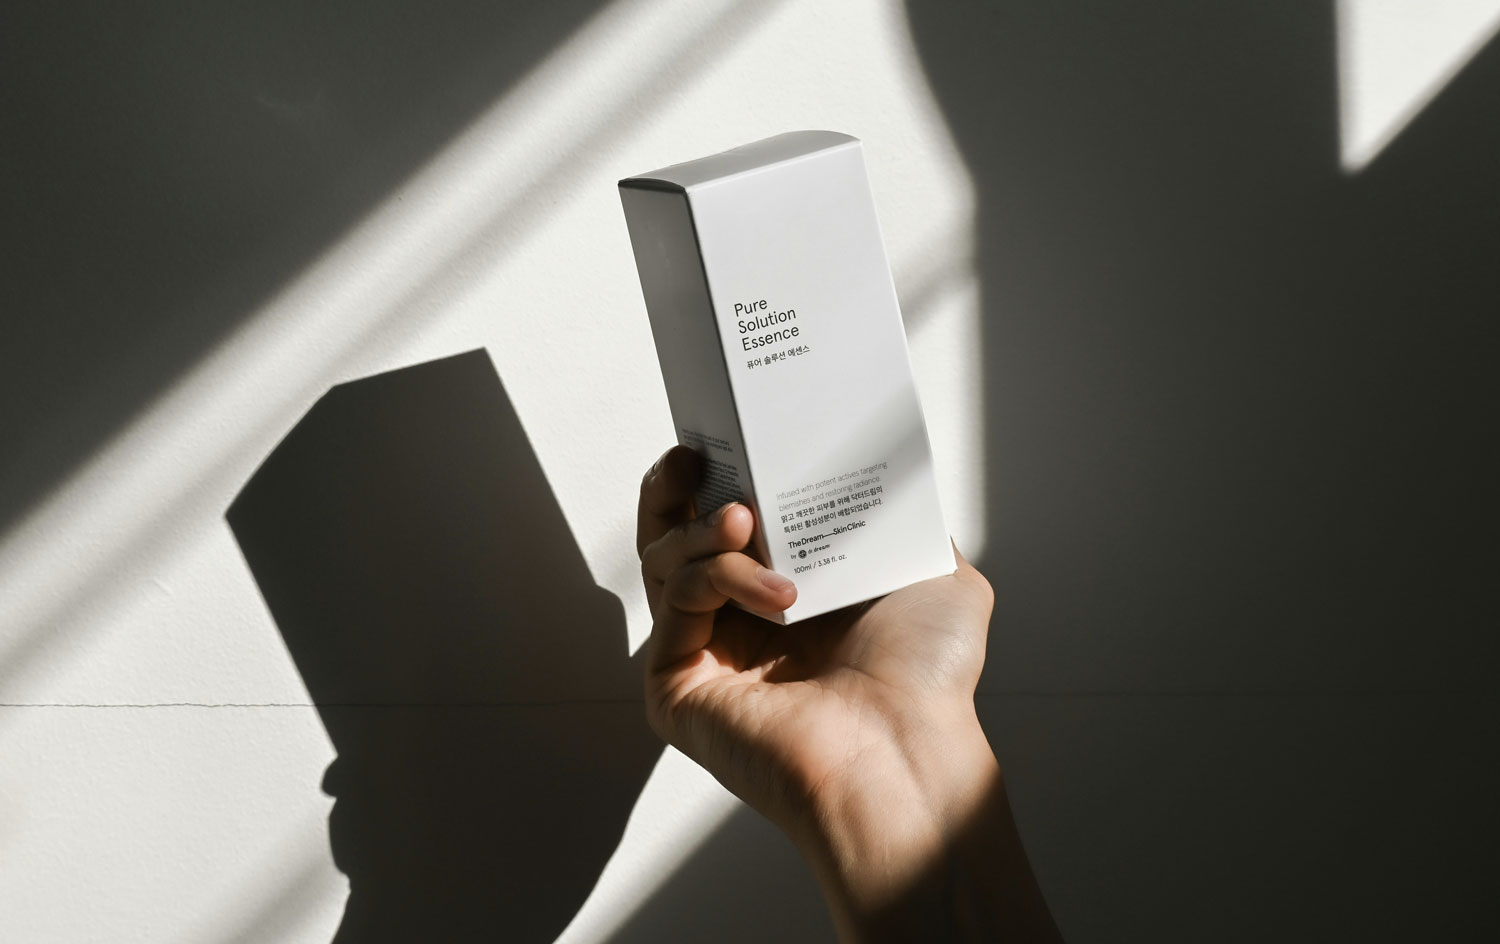
There are two main kinds of photography you’ll use across your brand: product photography and lifestyle photography. They serve different purposes and need to be planned separately. Product photography shows your product in a clean, clear, and accurate way. It’s what you use on your online store, for retailer submissions, packaging, and anywhere else that demands consistency and clarity. Lifestyle photography places your product in context, being used, in a styled scene, or shown in the kind of setting your customer relates to. These images are for social media, advertising, website banners, and brand storytelling. They connect emotionally. The best brands shoot both. Product photography gives your customer trust. Lifestyle photography gives them desire.
Step 3: Use the right tools (and avoid the wrong ones)
Let’s talk gear. You can take decent photos with a phone if you’re careful, but it’s not ideal, and there are some hard rules you need to follow if you go that route.
Cameras
The best option is a DSLR or mirrorless camera. If you’re serious about photography and have access to a proper camera, use it. It will give you better control, better sharpness, and most importantly, access to the right lens. Here’s the problem with most beginners: they use the wrong lens and end up with warped-looking products. Use a 50mm lens on a full-frame camera. That gives you a natural perspective that doesn’t distort your subject. If you’re using a crop-sensor camera (like most entry-level DSLRs), a 35mm lens will give you roughly the same field of view. For tighter shots or when you want some background compression (like in lifestyle setups), use an 85mm or 100mm lens. These lenses are also great for detail shots. Avoid anything wider than 35mm, especially 24mm or 18mm kit lenses. These are wide-angle lenses and they distort shapes. Straight lines bend. Jars bulge. Bottles lean. It doesn’t look professional, and it can mislead the customer.
Phones
If you have to use a phone, and I get it, sometimes it’s all you’ve got, be smart about how you shoot. First, avoid the wide-angle lens. On most phones, the “0.5x” or even “1x” setting uses a wide lens, which distorts everything, especially when shooting close. This is the default mistake. Instead, switch to the “2x” or “3x” lens, which is usually a telephoto lens on newer phones. This compresses space and gives a more natural perspective. If your phone doesn’t have a telephoto lens, don’t zoom digitally. Step back physically and crop later. Use a tripod or clamp to hold the phone steady, especially in lower light. Tap and hold to lock focus and exposure. Don’t shoot handheld at night or in mixed lighting. You’ll get blur and weird colours.
Step 4: Get your lighting right
Lighting is what makes a photo look professional or not. You can have a great product and a good camera, but if the lighting is wrong, your photo will look flat, harsh, or full of shadows. The simplest, most effective option for beginners is natural window light. You want a large window with soft, indirect light. That means no direct sun pouring through. North-facing windows are perfect. If the sun is hitting the window directly, diffuse it with a sheer white curtain or baking paper. Set your product near the window, and place a large white foam board or reflector on the opposite side to bounce light back and soften the shadows. You now have a basic softbox setup for free. Avoid mixing light sources. If you use daylight, turn off all indoor lights. Mixing warm tungsten with cool daylight gives you strange colour casts you won’t be able to fix later. If you’re using artificial lights, make sure they’re daylight balanced, ideally around 5500K, and use softboxes or diffusion panels to avoid harsh shadows.
Step 5: Shooting product photography
This is where you show your product clearly, with accurate colour, consistent angles, and no distractions. Use a neutral background, white, light grey, beige, or a tone that matches your brand palette. Don’t shoot on random wood floors or wrinkled sheets. Keep it clean. Always use a tripod. Set up your scene. Align your product carefully. Make sure labels face the right way. Clean off dust, fingerprints, and smudges before every shot. Don’t assume you can fix it in Photoshop. Set your white balance manually if you can. If not, use a white card in the scene and adjust in editing. Shoot in RAW format if your camera allows it. That gives you more flexibility to correct exposure and colour later.
Get multiple shots:
- Front-on hero image
- 45-degree angle
- Top-down (especially if your product is short or flat)
- Close-up detail (label, texture, ingredients)
- Group shots if you sell bundles or collections
- Leave enough space around the subject so your images can be cropped square, portrait, or landscape. Your future self or your designer will thank you.
Step 6: Shooting lifestyle photography
Lifestyle shots help people imagine your product in their world. They’re more emotional, more engaging, and more versatile, but only if done with purpose. Start by defining the scene. Where does this product naturally live? A hand cream goes in a bathroom or bedside table, not on a kitchen counter. A wine bottle belongs in a dinner or picnic setting, not on a studio backdrop. Use props that support the product story, but don’t overwhelm it. A robe, a towel, a glass of water, a book, choose one or two that make sense. Keep everything aligned with your brand colours and visual tone. If you’re using people, brief them well. Choose models who reflect your target audience. Keep styling minimal. Avoid flashy logos or overly posed hands. You want the product to feel usable and real, not staged and awkward. Shoot wide, medium, and close. Get variations. You’ll need landscape for web banners, vertical for stories and reels, square for Instagram, and detail crops for product pages. And most importantly, use light the same way you do in product photography. Soft, clean, and intentional.
Step 7: Edit with consistency
Editing is where you polish your images, not where you fix major mistakes. Adjust exposure, contrast, white balance, and sharpness. Remove dust or minor distractions. Keep colours true to life. Don’t slap on a trendy filter that shifts your entire palette, that’s not branding. If you use Lightroom, build a preset that reflects your brand’s tone and apply it across your shoot for consistency. Keep skin tones natural. Avoid over-smoothing or fake blur. Make sure your product looks like it does in real life. If customers receive something that doesn’t match the photo, they won’t trust you again.
Recap: What every brand photo needs to do
- Reflect your moodboard and brand tone
- Be sharp, clean, and colour-accurate
- Use soft, controlled lighting
- Avoid distortion from wide-angle lenses
- Be styled with purpose, not clutter
- Work in multiple formats: square, vertical, landscape
- Look like it came from the same brand world as all your other images


